How to Peel and Stick Tile for a DIY Remodel
|
|
Time to read 7 min
|
|
Time to read 7 min
It’s as easy as it sounds! Peel and Stick Tile is a lightweight, flexible tile material with an adhesive backing that’s perfect for a DIY homeowner, RV owner, or Vanlifer who wants that high-quality look and feel at a fraction of the cost and weight of regular tile. No fancy, expensive materials or tools required. And, no need to hire a contractor! So if you're looking for peel and stick backsplash ideas or easy ways to makeover your kitchen, bathroom, or laundry room, we've got the perfect options for you!
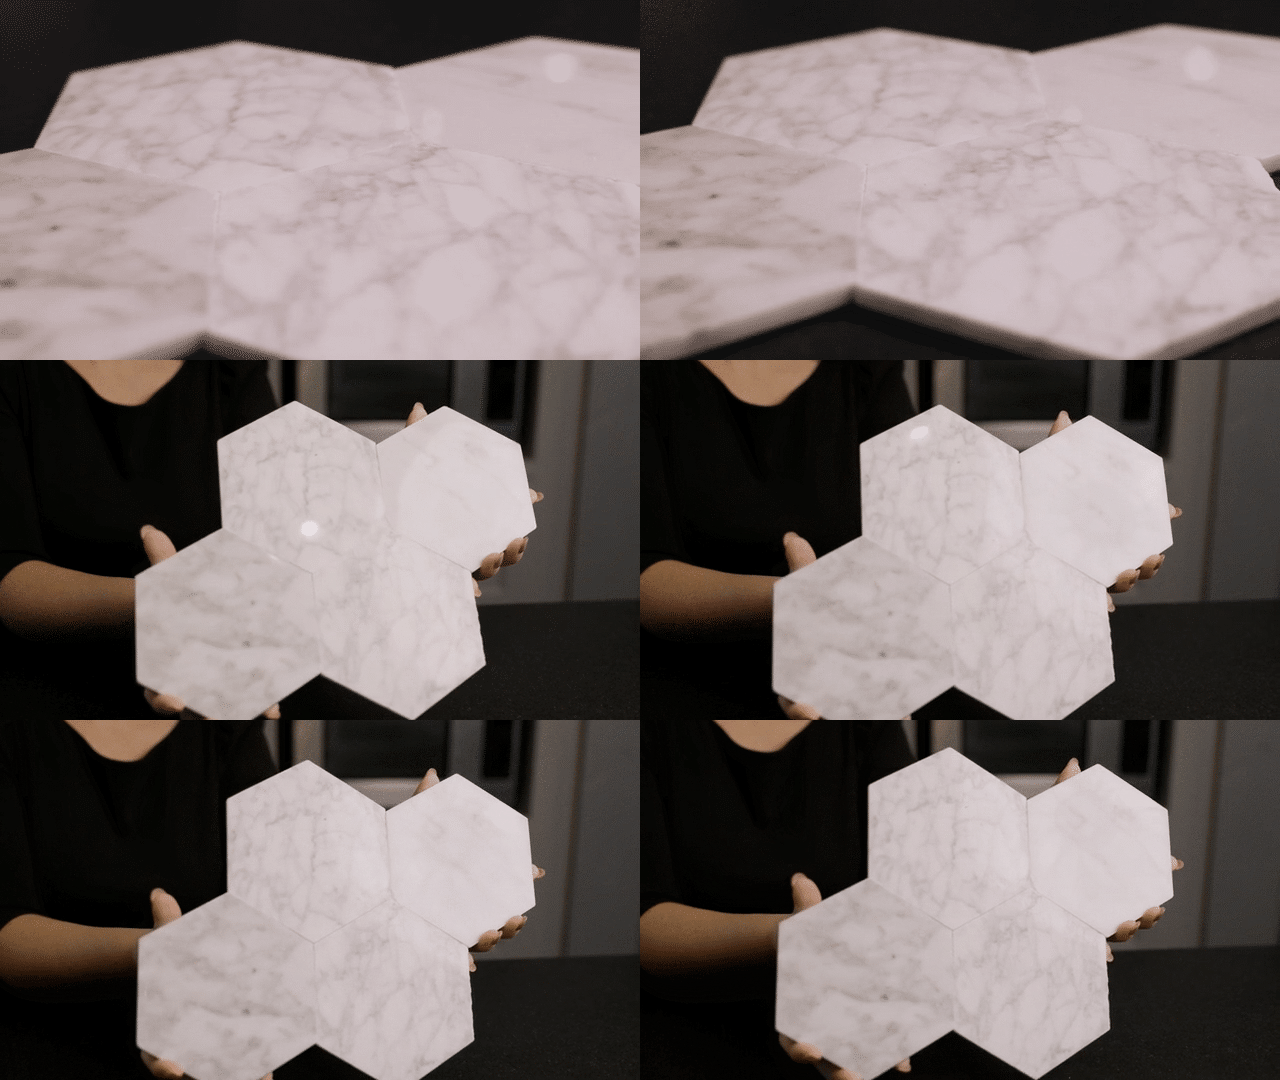
That's right, these Carrara marble tiles are ready to peel and stick! Just cut to fit, peel off the adhesive backing, and adhere to your prepped wall.
They're Affordable
No need for grout, mortar, sealer, special tools, or a qualified contractor to install these tiles! Less tools and no labor costs = more money in your pocket for other renovation projects.
They're DIY Friendly
You can install peel and stick in an afternoon with tools you most likely have around the house. Easy to cut, easy to clean. No experience necessary; just peel and stick into place! Since most of us are still at home these days itching for something to do, this is a perfect quarantine home project that won’t break the bank and helps the time pass!
Many Styles to Choose From
Whether you lean towards traditional marble or dabble with edgy and eclectic style, peel and stick tile offers endless options to spruce up your kitchen backsplash, bathroom wall, laundry room, and anywhere else you can think of! Let’s dive in and take a look at a few different options:
These are not your average tile stickers! Unlike many adhesive tiles that are a thin sheet that's flexible and coated with a plasticy finish, Tile Club carries semi-permanent peel and stick tiles. They're made of high-quality vinyl and aluminum, or genuine marble, to offer a long-lasting material. Here are the places you can install our adhesive tiles:
Wouldn’t this style look amazing as a kitchen backsplash? These unique metal tile is not your average Lowes peel and stick backsplash. The mixture of copper tones in this contemporary picket tile design is a show-stopper. I might actually cook more if I had this in my kitchen! Made from aluminum, these stick on tiles give off that metal shimmer sure to catch glances from all your dinner guests. At a whole 5mm thick, they're also easy to trim to fit!
Stylish hexagon tile that’s easy to install? Yes, please! The detail of these modern metal tiles display a brushed aluminum look for all you industrial design lovers out there. Shades of gray, brown, and brushed metal pair beautifully with stainless steel kitchen appliances or in the laundry room.
2.5" Carrara Hexagon Peel and Stick Tile
Perfect for the DIYer who loves the traditional look of Carrara Marble and the ease of just peeling and sticking tile to the wall or floor. These stunning marble hexagon peel and stick tiles are as beautiful as they are easy to install! You can use this style for a DIY kitchen backsplash or get a little creative and tile your fireplace surround to give your living room a fresh and easy makeover. These are perfect for Peel and Stick backsplash bathroom ideas for a DIY refresh!
So many possibilities, and they’re all gorgeous!
By now we’re assuming that you’re totally on board and ready to get started on your peel and stick project! (Installation is so easy - why wouldn’t you be?) Here are the tools you’ll need:
Step 1: Clean Your Subfloor or Wall
So, how do you prepare a floor for peel and stick tile? First, make sure the floor or wall where you’re installing your tile is dry, clean and smooth with no bumps or blemishes. Clean and vacuum the area well, otherwise any lingering debris could show through your new tile and cause damage. We don’t want that!
Use a mixture of ¼ ammonia in 1 gallon of water to remove any wax coating. Let the area air dry for at least 1 hour to ensure there is no moisture.
💡 Pro Tip: Never apply peel and stick over a waxed floor or any flooring that has been treated with paint, sealant, varnish and the like because the adhesive will not stick.
Step 2: Lay Out Your Tile Pattern
Before removing the protective backing, you’ll want to test out the placement of your tile. This will ensure that you like the end result before installation. The best way to begin this step is to separate your room or wall into quadrants.
Measure one side of the floor or wall and mark the center point with chalk. Then, measure the opposite wall and again mark the center point. Take your string or twine and stretch between the two center points, then draw a line with your chalk along the string using a straight edge. If you don’t have an extra pair of hands, use painter’s tape to secure the string in place at each center point.
Repeat this step along the other 2 walls and now you will have an intersect at the direct center of the floor or wall.
💡 Pro Tip: Don’t know how much tile you need? Check out our blog on How to Measure a Room for Tile and Calculate Square Footage.
Installing our Carrara Marble Peel and Stick Tile? Check out our Video!
Step 3: Start Sticking!
Now that we have a center point, you’ll want to work from the center out. Peel off the backing from your first tile sheet and carefully place in the corner of the intersecting chalk lines. Press firmly once you have the sheet lined up properly.
Continue moving down the chalk lines, then fill in the area within the quadrant before reaching the walls. We’ll save tiling the walls for step 5. Keep repeating this step until all quadrants have been completed.
If you make a mistake, warm up the piece of tile with a hair dryer to soften the adhesive and immediately pry up the tile with a putty knife. Fair warning, this piece will most likely be damaged and non-reusable, so make sure you have extra materials on hand for just this purpose.
Step 4: Cutting Around Obstructions & Edges
How do you cut peel and stick tile around corners? Simple! Mark the areas needing to be cut away with a ruler, then use your heavy-duty scissors, shears, or tin snips to cut along the lines. It’s important to leave the protective backing on the tile before cutting it to fit into place. Once you’ve made your cuts, peel off the backing and get ready to apply to the area as detailed in step 3 above.
💡 Pro Tip: The backing of peel and stick tile is very sticky! Once peeled away, use leftover backing to grab the edges so your hands stay glue-free.
Step 5: Tiling Along the Wall
Don’t worry, this step isn’t as difficult as you might think! First, place your tile sheet with the backing still applied against the wall and aligned with the already-stuck tile underneath. Take your straight edge and pencil, then draw a line along this piece where it intersects with the installed tile.
(Cut away the red area)
Next, take your heavy duty scissors or tin snips and cut carefully along the line you just drew. Finally, remove the backing and place the tile along the wall carefully making sure this piece is lined up with the other tile already installed.
Step 6: Ensure the Tile is Firmly Adhered
Once all your tile is installed, you’ll need to firmly roll the entire area with a j-roller to make sure there are no air bubbles. If you don’t have one of these or don’t feel like picking one up, a baker’s rolling pin should do the trick, making this project even more DIY friendly! Just make sure to apply firm pressure along the newly installed tile.
💡 Pro Tip: Give the tile a few days for the adhesive to cure before cleaning.
(J-Roller)
So what’s the verdict, are you inspired to DIY a peel and stick backsplash, accent wall, flooring, and more? Let us know in the comments! Check out our Peel and Stick Tile Collection for more choices and inspiration.


